Step 2 – Create Sections
The second step in working with read!t is to create at least one section.
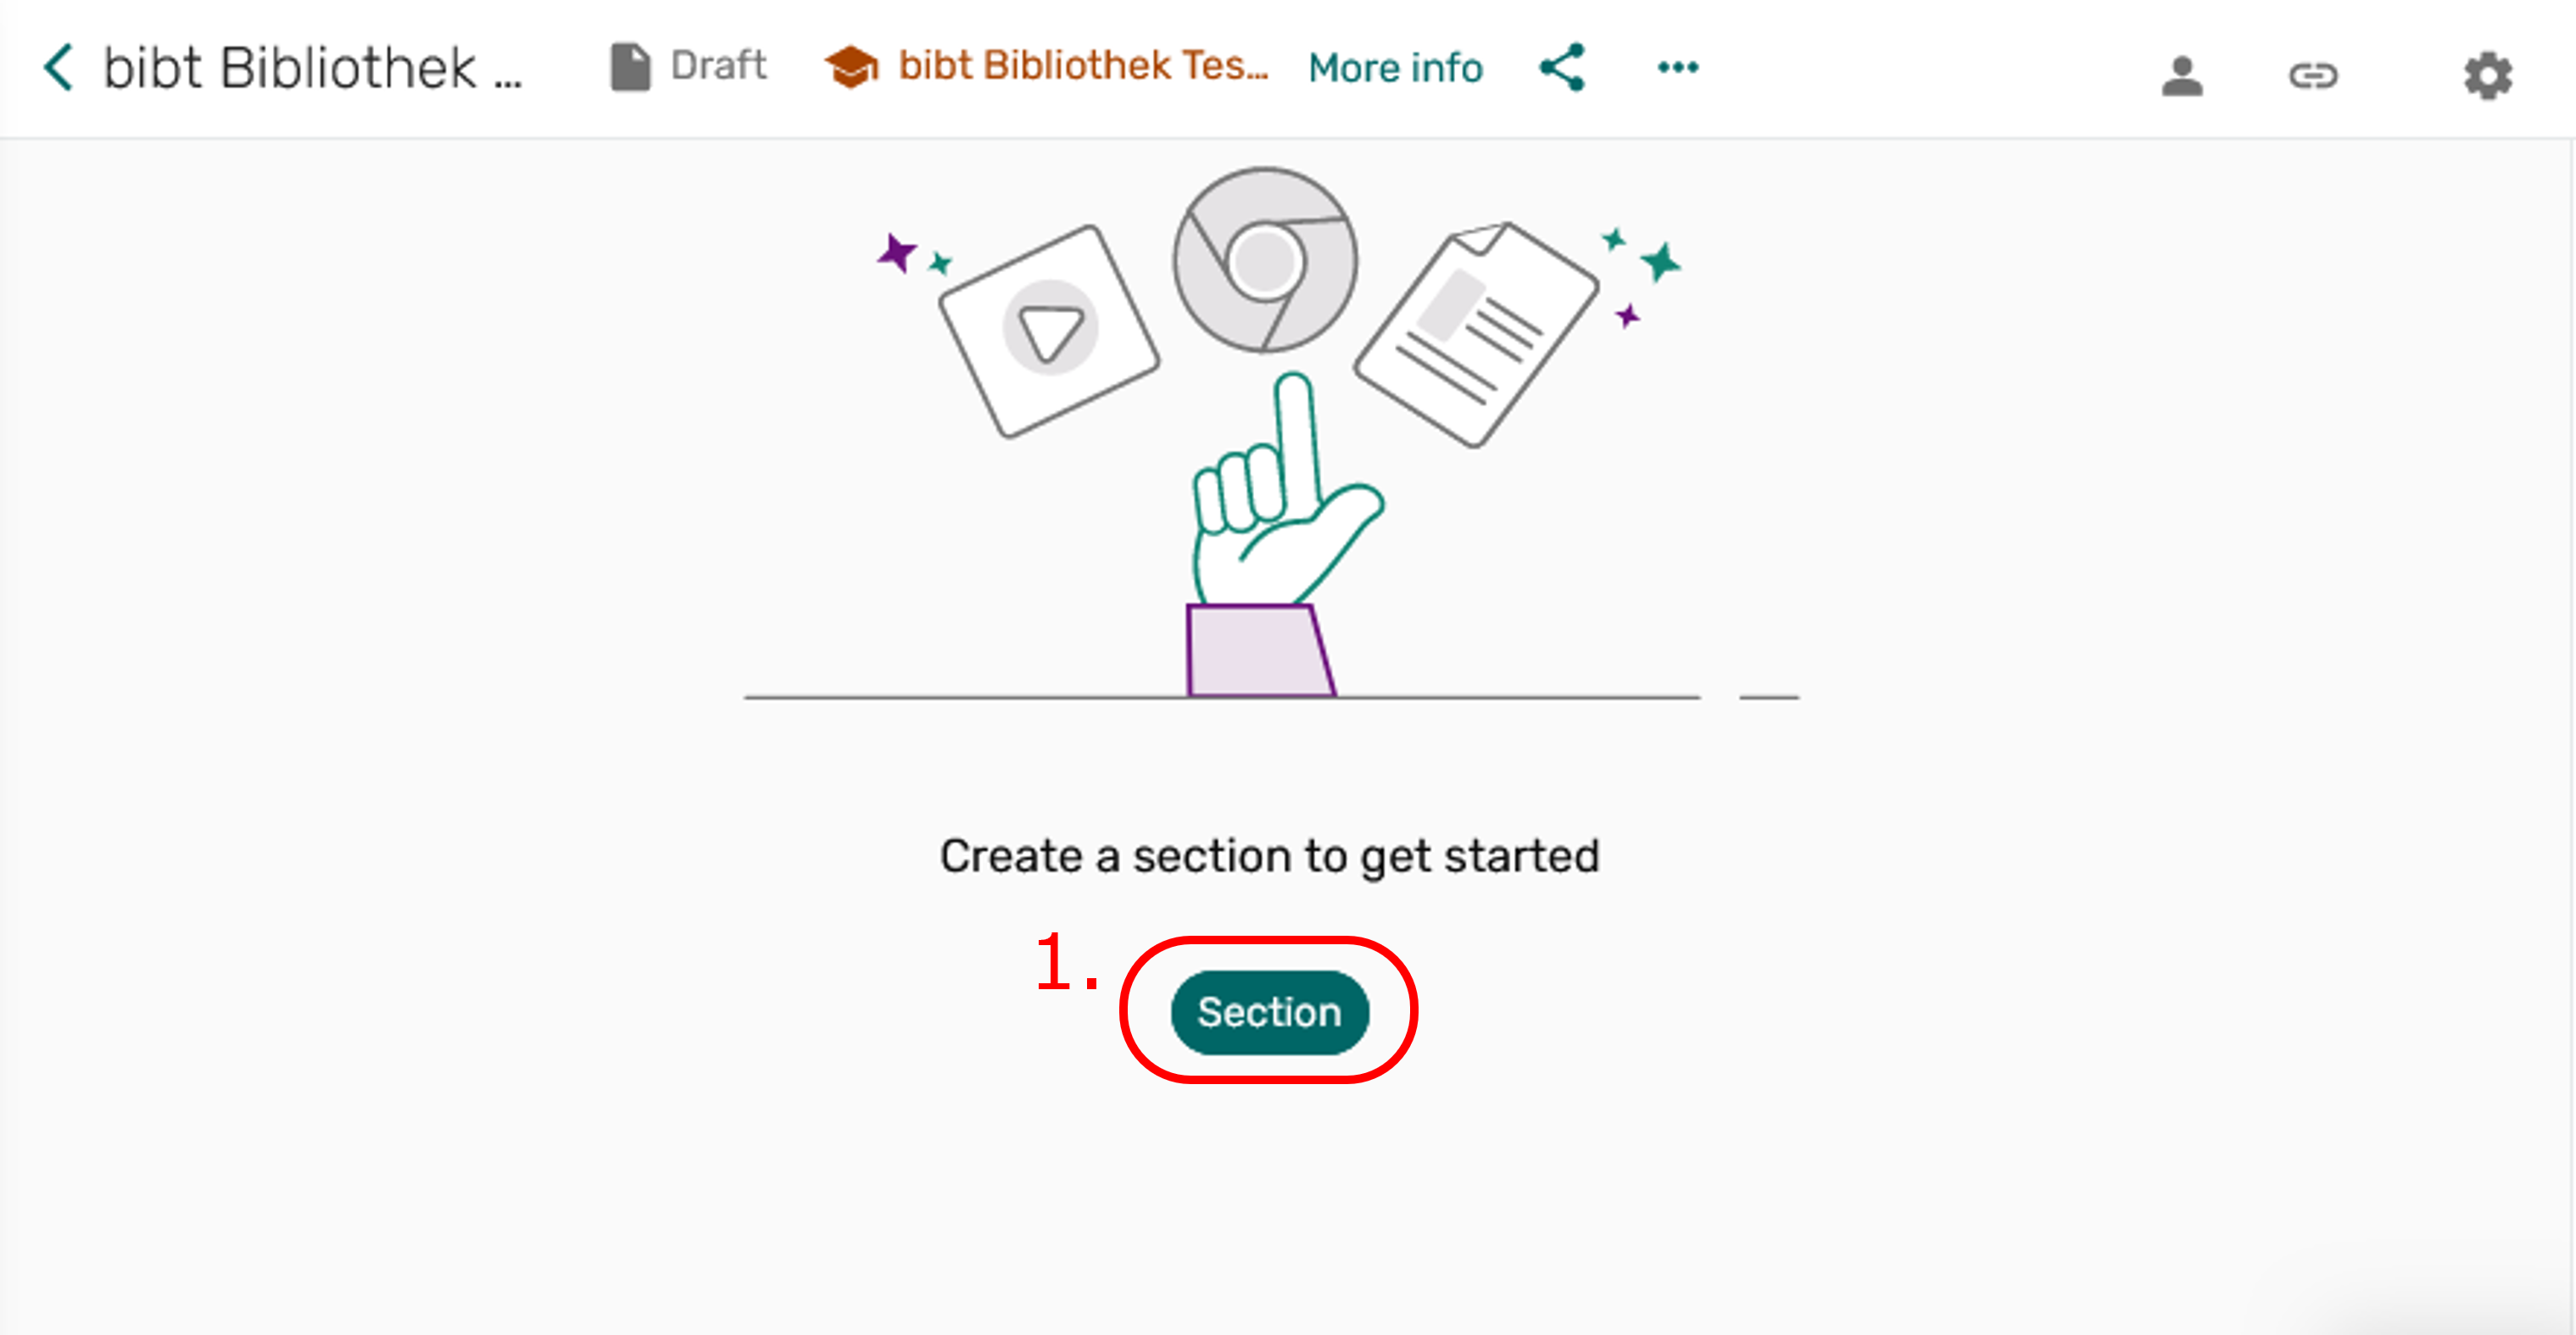
To do this, click on the Section [1.] button in the middle of your still empty read!t list below the graphic.
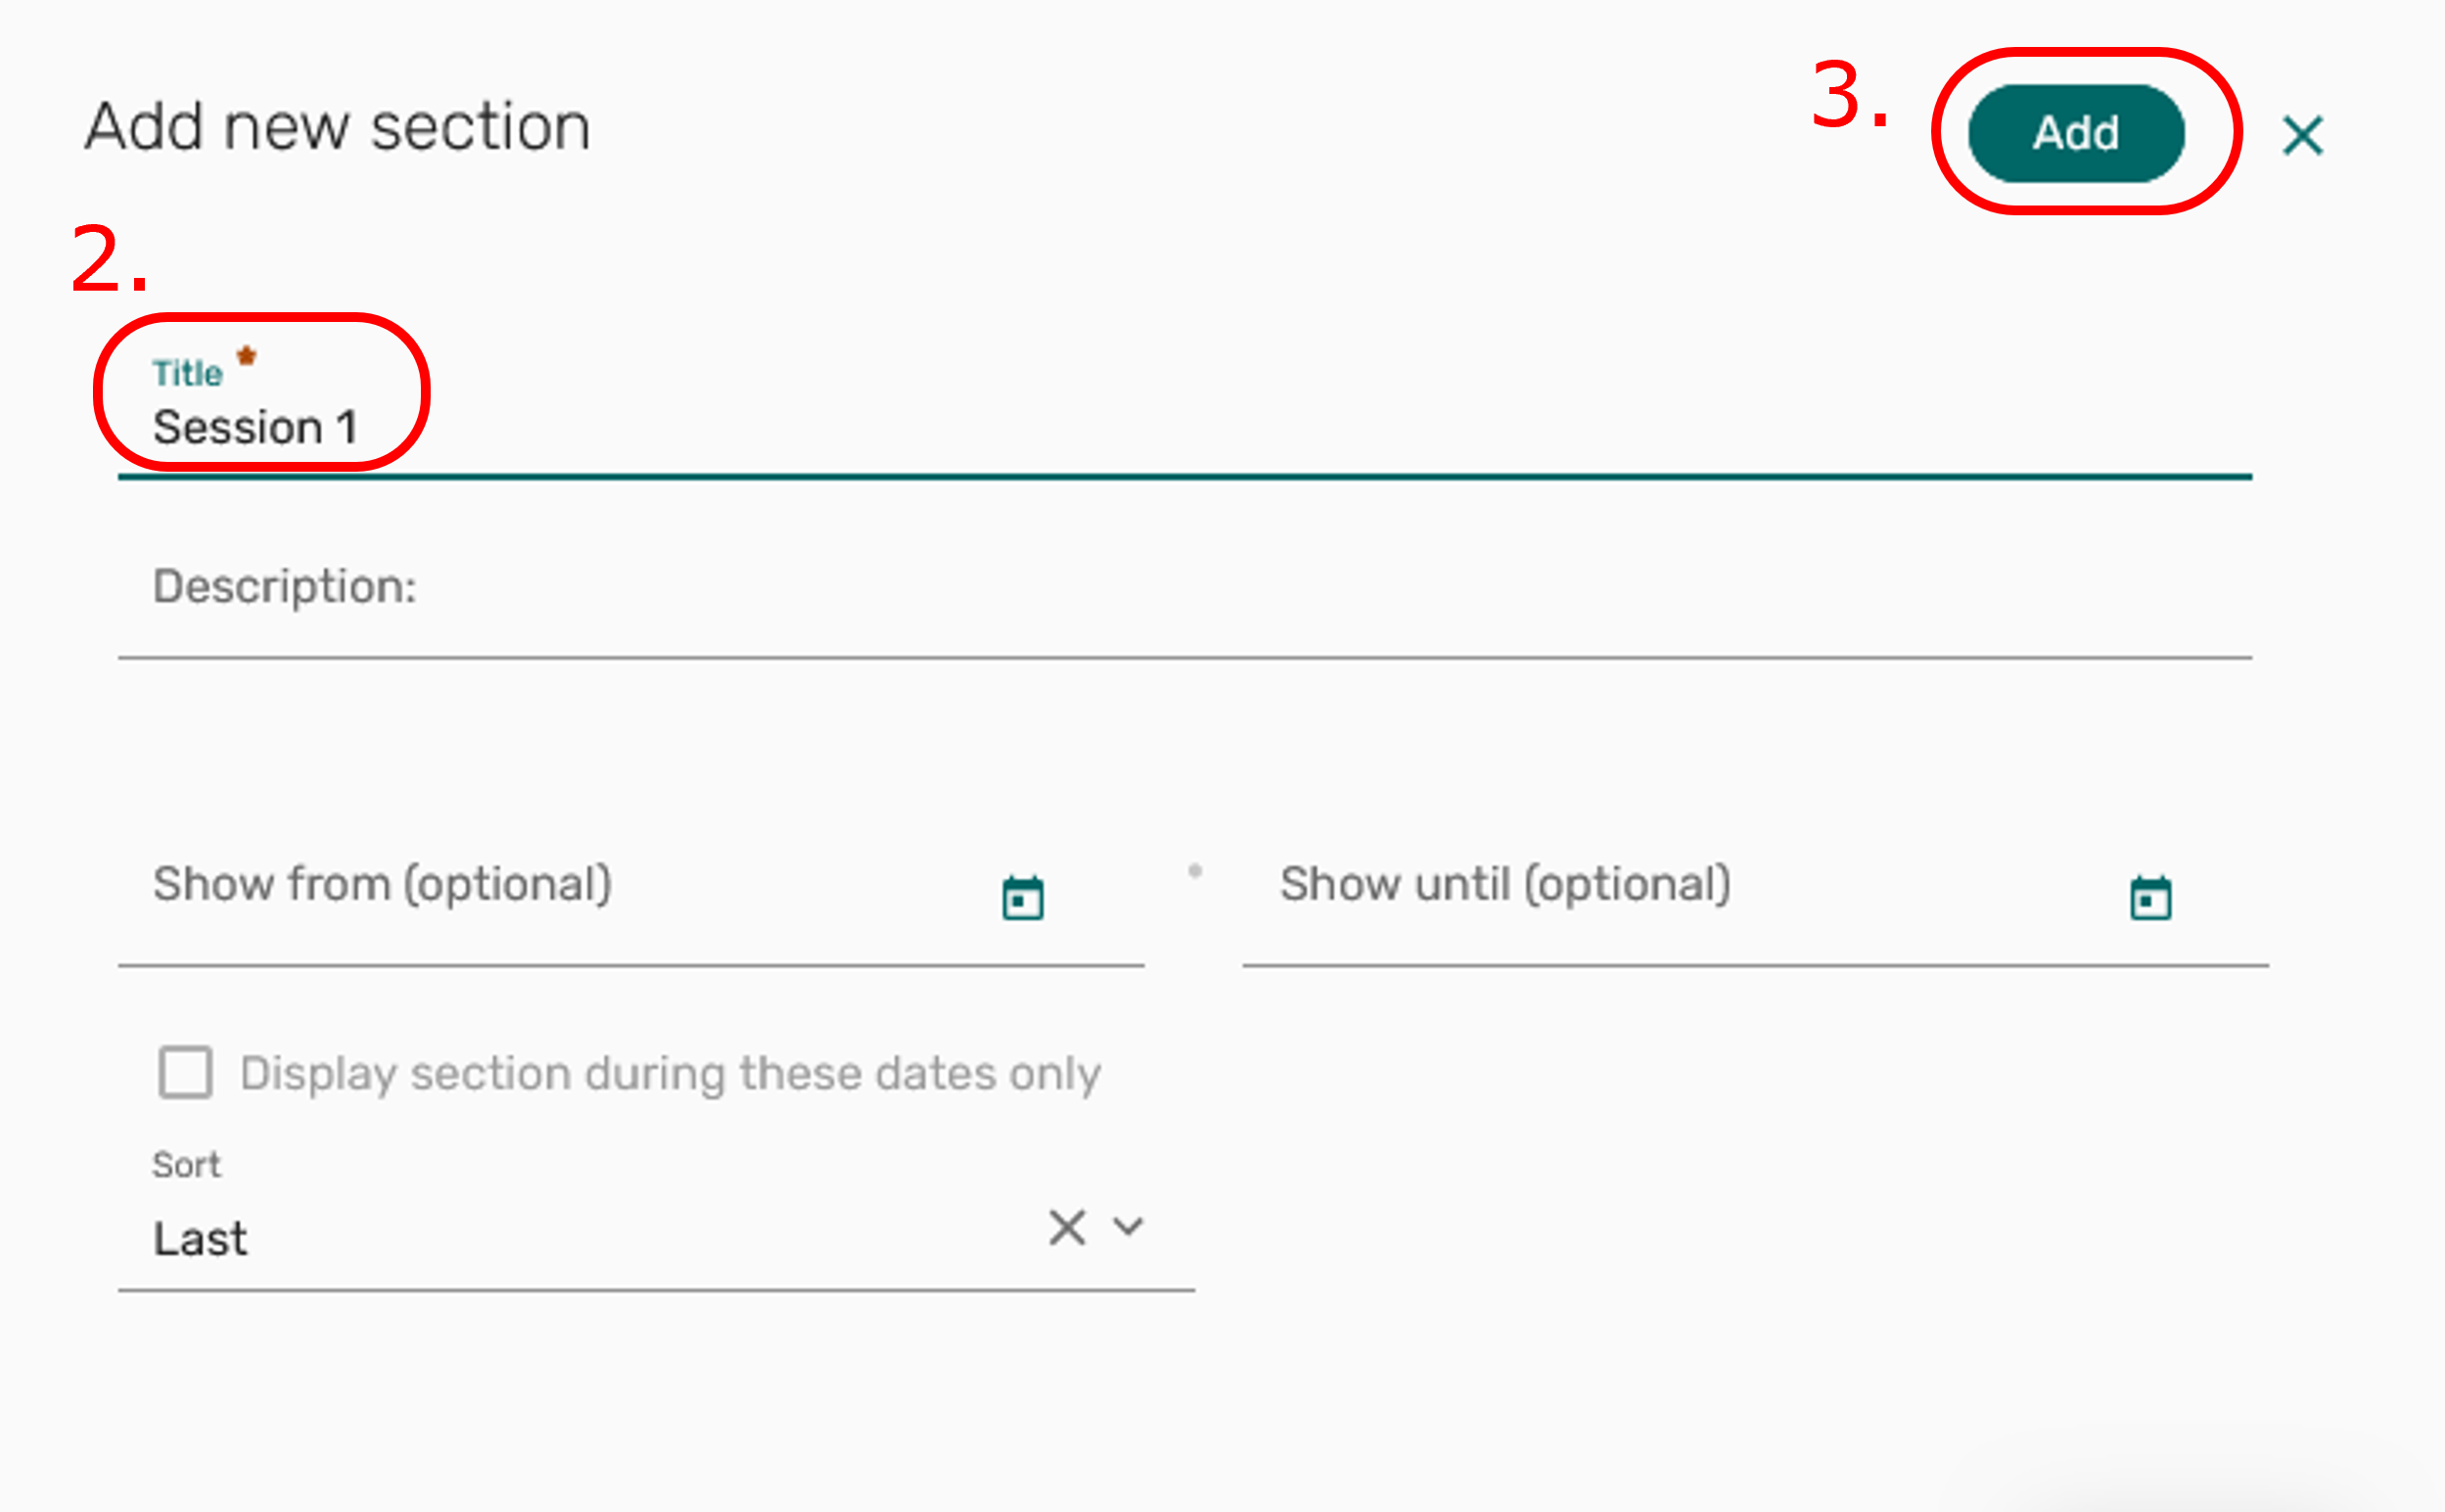
A window opens in which you must name the section in the title field [2.], for example "Session 1". Then click on Add [3.]. You now have a first section on your reading list.
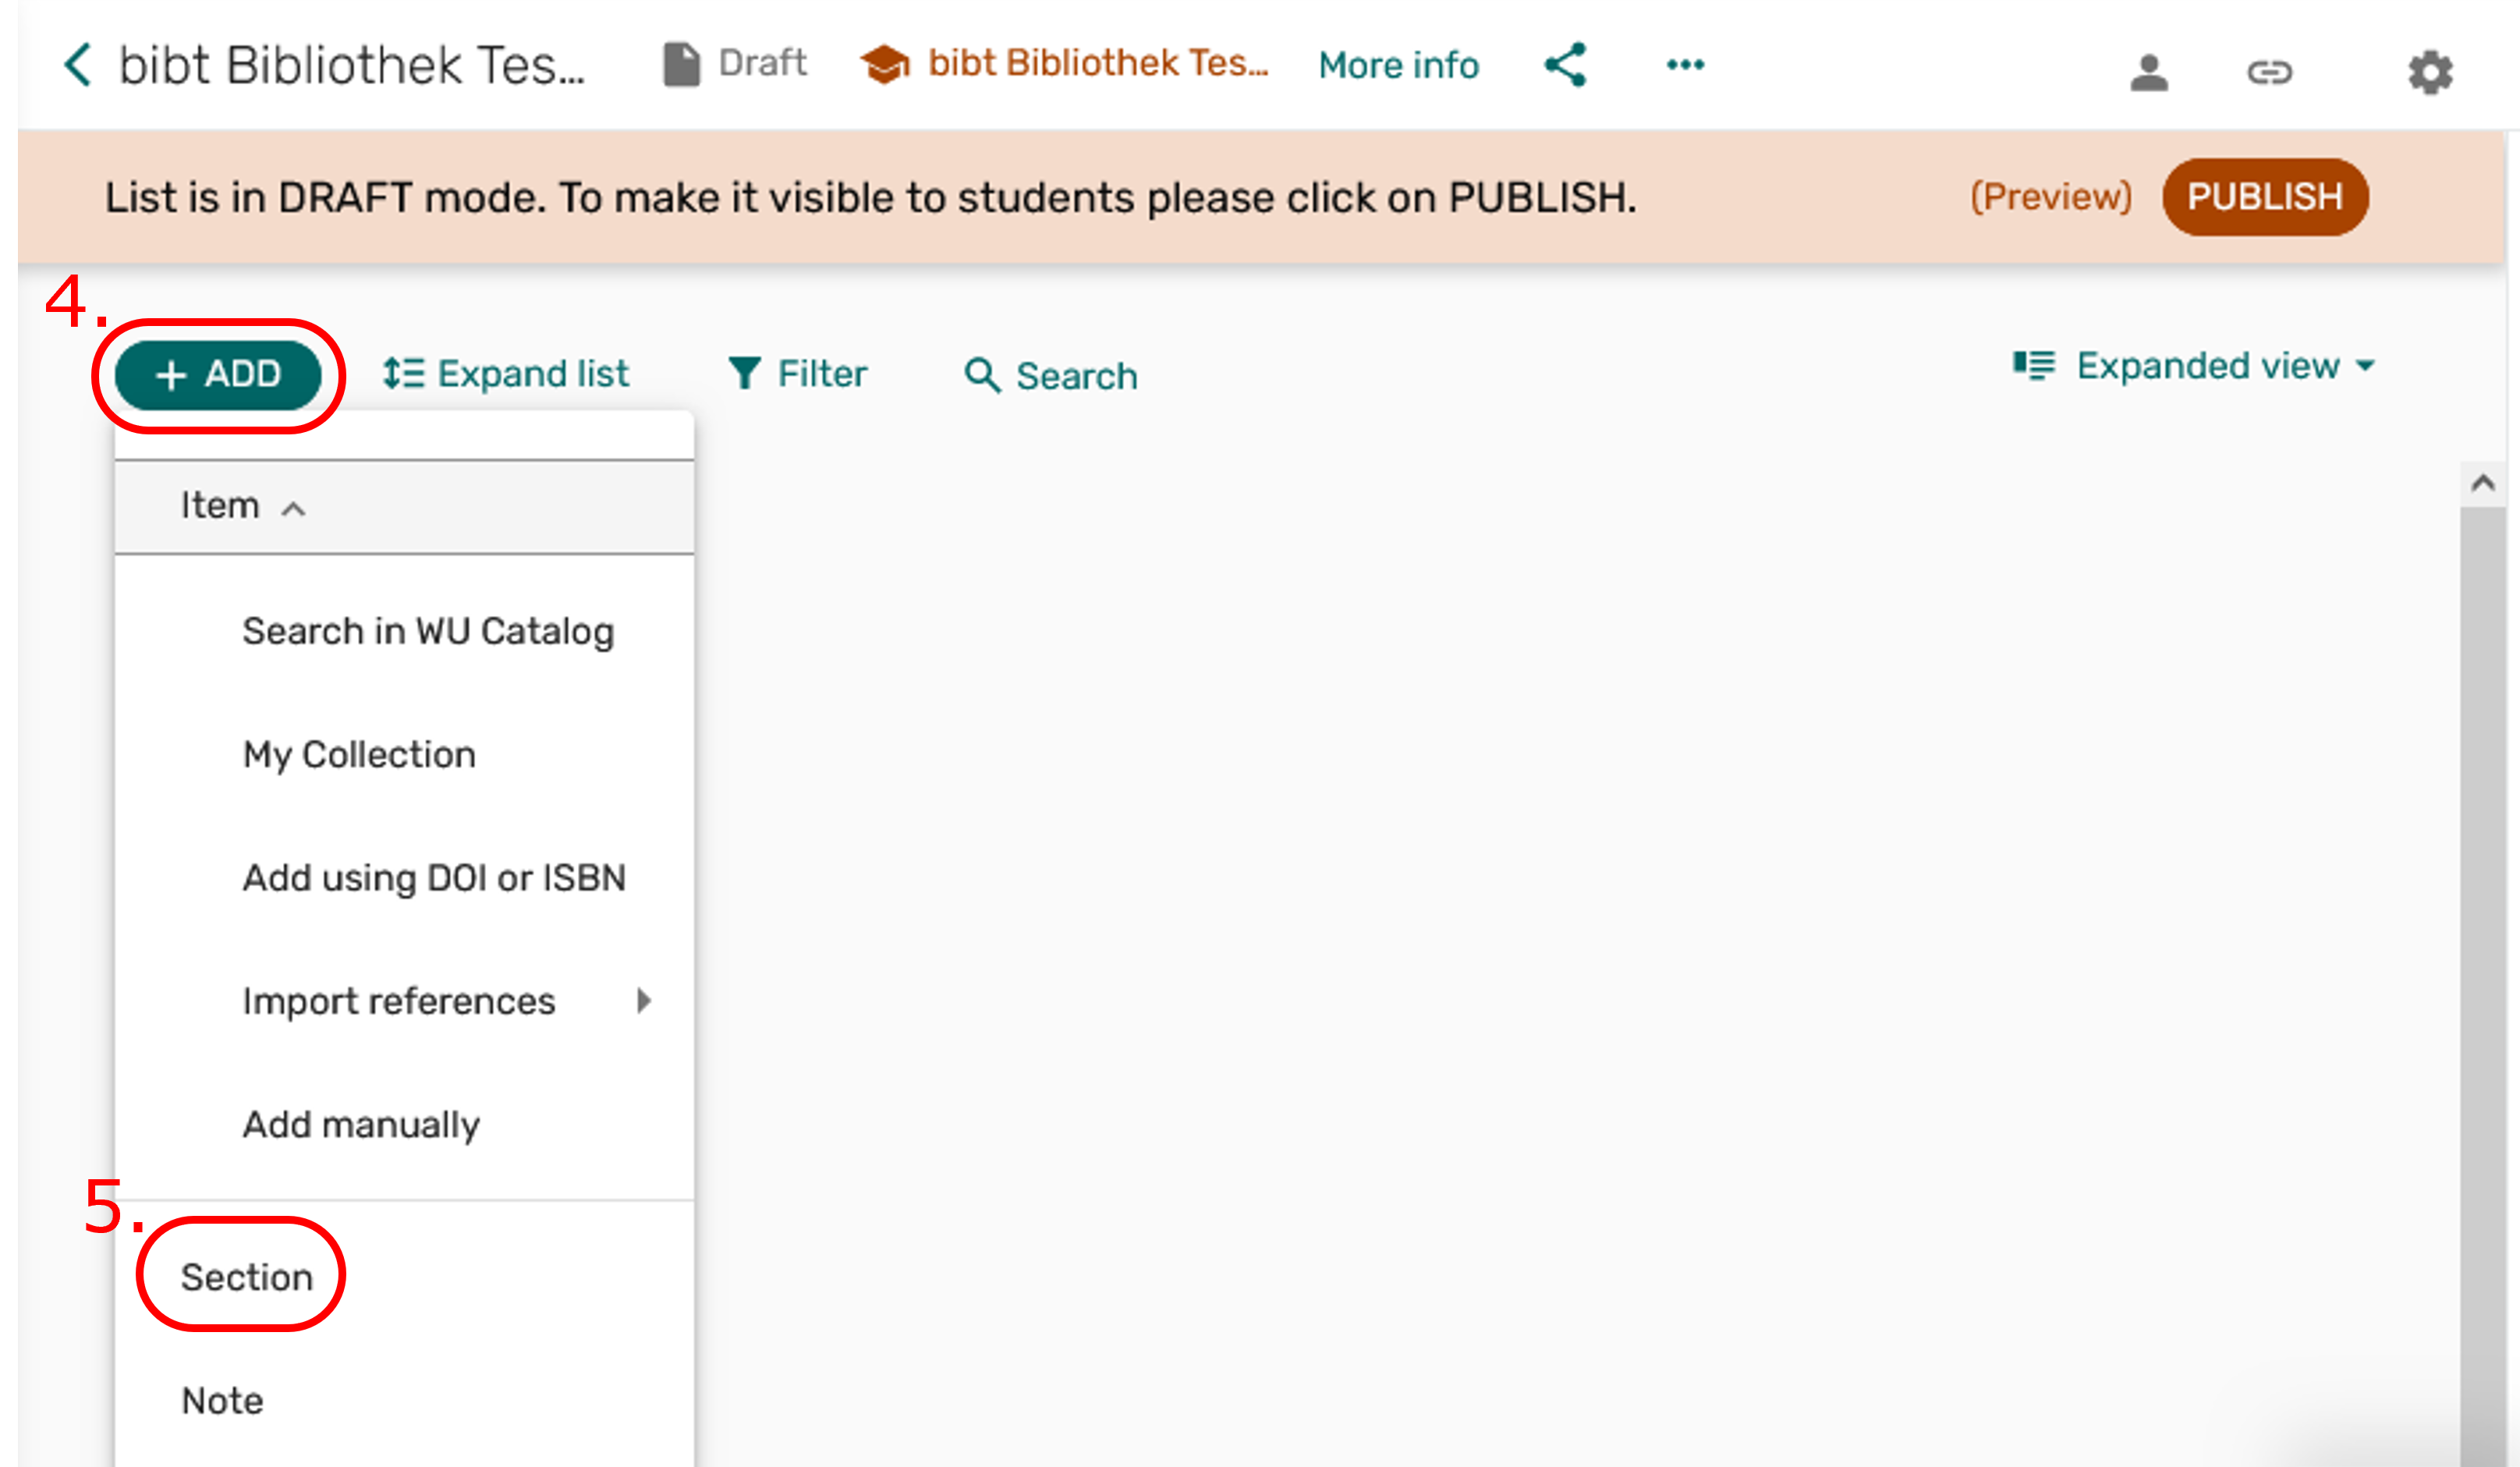
To create additional sections, click on the + ADD button [4.] now visible in the new window and select Section [5.] in the lower area of the drop-down list. Another window opens in which you must name the section as before [2.] and add it to your list [3.].
Please create all the sections you need first, and then start adding items. You can name the sections of your reading list as you wish: You can name a section just "Reading list." You can also structure the sections thematically or name them chronologically according to your course units. Or you can create two sections and name the first "Mandatory readings" and the second "Additional readings".
Checklist
✅ Create sections
❐ Add items
❐ Assign tags
❐ Publish list